Years ago I decided to see how little I needed to spend to build a high-end, audiophile quality, class-D amplifier. The answer, then, was US $523.43. I built a worthy little amp, and the article I wrote about it for IEEE Spectrum still attracts page views, and even sporadic emails from people asking where they can get the parts.
Sorry folks, the main components are long gone. So I’ve been steering people to excellent class-D amplifier kits from Class D Audio, DIY Class D, and Ghent Audio instead. But a couple of months ago I got the itch to see how much better I could do now, almost a decade later, with the same challenge. Part of my motivation was the annual Best Stereo Amps lists from gadget-review website The Master Switch. The lists are dominated by amps costing more than $1,000 (nine of them cost more than $2,000).
I’m a sucker for flashy audio gear. But really now, step away from the checkbook and get out your soldering iron. If you have basic soldering and machining skills—can you drill holes in sheet aluminum?—you can get high-end gear for a lot less.
In a nutshell, a class-D amplifier works by converting an analog signal into a varying train of square pulses of fixed amplitude. These pulses efficiently turn transistors on and off, and the transistor output is converted back into a louder analog signal. When I wrote my previous article, class-D audio was fairly new, and audiophiles were still arguing about whether class-D amps could sound as good as class-AB or class-A units.
Nobody is having those arguments anymore. There are many class-D amplifiers on the market now, and the best of these are dominating the upper reaches of the high end.
Designing and building a class-D amp from scratch is a laudable undertaking. Should you decide to go this route I salute you, and suggest you start with Cezar Chirila’s excellent article on the All About Circuits website. But if your heart’s desire is maximum fidelity per unit cost, a better strategy is to carefully choose amplifier modules and other components from among the huge array of fine options that are readily available. That’s what I’ve done here. You’re welcome.
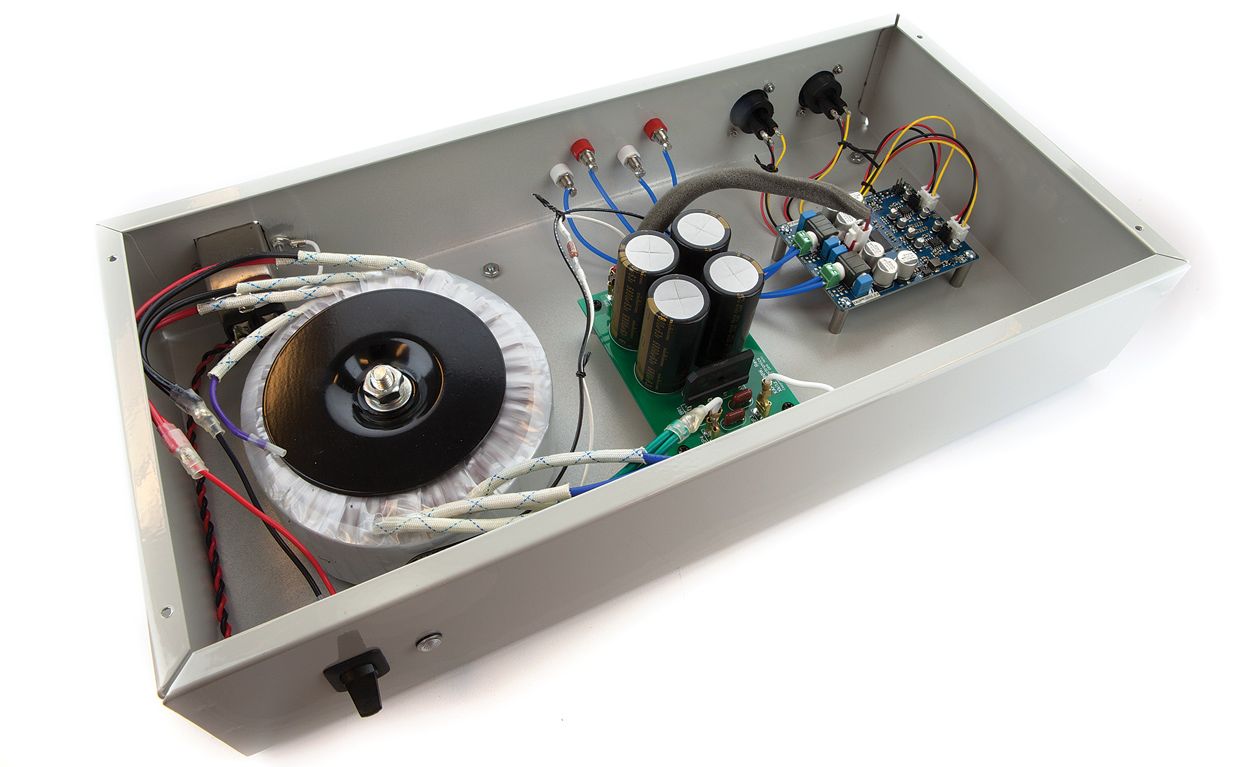
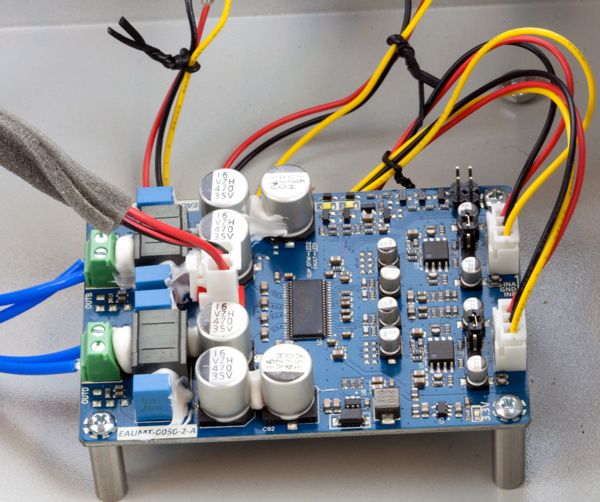
An audio amplifier has two basic components: a power supply and an amplifier circuit. For the amplifier circuit, I spent a couple of weeks researching and evaluating possibilities and settled on the EAUMT-0050-2-A class-D amplifier board from 3e Audio, in Shenzhen City, China. It’s based on Texas Instruments’ excellent TPA3250 amplifier chip, which competes well with class-D amplifiers made from discrete components.
The TPA3250 can drive 8-ohm or 4-ohm speakers and is 92 percent efficient, according to TI. It can accept balanced input signals (as commonly used in music studios and other professional settings), or single-ended ones (typical of consumer gear).
Test results on 3e’s site claim its TPA3250-based board has a total harmonic distortion plus noise (THD+N) of 0.0025 percent at 20 watts into a 4-ohm load, for a 1-kilohertz signal. That’s ridiculously low. For comparison, the $2,199 class-D Peachtree Audio nova300, which The Master Switch declared “Best Overall” amp this year, claims a THD+N of 0.005 percent under the same conditions.
Take all this with a grain of salt, and understand that you cannot hear the difference between a THD+N of 0.0025 percent and one of 0.005 percent. The takeaway here is that a sound system consisting of an amplifier based on the 3e board—which costs $49—along with a good digital-to-analog converter and a preamp can give you sound that can hold its own against a high-end amp.
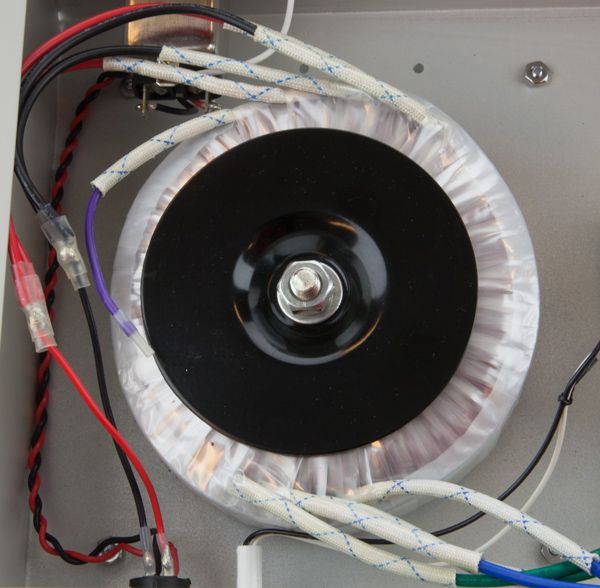
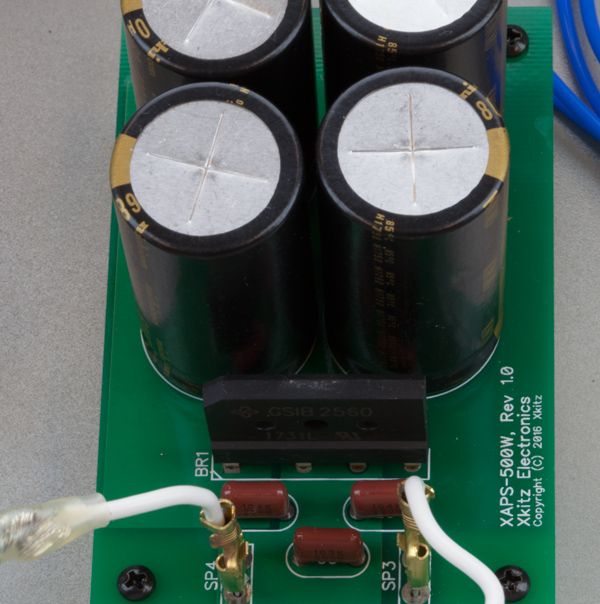
For a power supply, I recommend an unregulated, audio-grade power supply from Xkitz Electronics, model XAPS-500W ($30). Feed it with a 22-volt, 200-volt-ampere power transformer from AnTek Products Corp., model AS-2222 ($32). If you prefer a switching power supply over a linear one, an outstanding choice would be the SMPS300RS from Connex Electronic ($65, which includes the transformer). Or if you want a really low-cost option, there’s the HPOO rectifier board available from AliExpress for just $15. On the other end of the scale, there’s the Eltim PS-UN63RQ module, at €119. Shipping to the United States is another €81, so it’s not a good option for Americans. (IEEE members can access a complete parts list and additional construction tips for this project).
After finishing this amplifier, I connected it to a pair of 30-year-old, three-way Panasonic speakers, which I frequently use for testing. The sound that emerged from these speakers was so good I was actually startled by it. Over the years, I have listened to at least 15 different amplifiers through these speakers, including tube amps costing upwards of $1,200. None has had the astounding clearness of tone, and precise, detailed and yet fluid sound reproduction of the 3e module paired with the Xkitz power supply. Finding a sweet spot characterized by precision, tightness of bass response, and overall warmness of tone is something few amplifiers manage to achieve, in my experience. This is one of them.
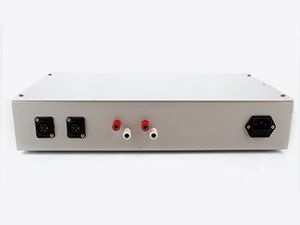
The total cost? $259.01. That’s a little over half of what it cost me to build a similar, but lower-performing, amplifier 10 years ago. That new sum, by the way, includes $37.50 I spent having the chassis professionally powder coated. Unless you’re really good at painting aluminum, I don’t recommend omitting this step. A high-end amp should look the part. But maybe that’s an argument for another day.
This article appears in the November 2018 print issue as “DIY Pro Audio.”